I have posted about my new leather cutting knife,the one look like chisel, on last update. well, now I am working on updated version of wittering puukko and last night, I have finally reached to the point I can make sheath.
So I have put that blade in use for first time and the result was more than satisfying.
The knife is used holding like this and cuts the leather like cutting butter. also the wide straight cutting edge allows to cut very straight or smooth curve as I wanted to.
Here is a shot of cut edge. almost shining very clean cut. The best thing about this edge is very crisp 90 degree edged corner..
As I have hearing about this type of leather knife, "once you have used it, can't let it go..." well, I think that is truth.
I was on winter / Easter holiday this week and had some time to work on the slow progressing blades.
First up is a Japanese style leather cutting knife called "Kawa-houtyou". It is as chisel like blade specifically designed for leather cutting.
have tried few different cuttings of the leather and as you can see the results on the picture, it does very fine cuttings and does it effortlessly.
The second item is not a blade, but my new belt grinder which I have got it on beginning of this year. It is one of those low-end El cheapo grinder. I know many people say "Do not go for the cheap grinder!" but I thought it will be way much better than the one I was using....
As I have un-boxed it, even before I run the belt, I have noticed the result of cheap made. there was a screw head sticking out on middle of platen.... so I had to file it down a bit. after that, basic operation of the machine was fine.
after finish grinding a blade, I have noticed that does not matter how I use it, I can not get the decent flat. The reason was that even the belt is correctly set, it does not run flat on platen.
The solution for this was to add extra / new platen. I have silicone glued the ceramic tile as you see in picture.
And the result is this. as good as almost no need of fixing. I am very happy with this mod I made. (but I do not recommend you to try this! It could be very very dangerous if tile breaks or comes off... )
Also, have had short time of forge work. I have re worked the 2 blades which I have forged on last session. as I started to grind the blank, I felt that these are not forged enough. so put it back in the fire and refine the bevel. The small stick in the picture is one forged new this time. It is a metal chisel blank for Japanese style metal chiseling work.
There are many "sharpness" crazy out there and I do not deny that I am one of them. But what is sharpness? How do you measure it? What is it good for? Why do we care? While browsing around Bushcraft, survival and knife communities on-line, I often came across the description like "Shaving sharp!", "Scary sharp!" or "Crazy sharp!". All of these statements are some what correct and does describes the "Sharpness" yet it does not describe the sharpness in any measurable way. But still, I think it is totally fine as long as that statement is not attached to the knife's capability or try to state how good the knife is by it. The worst example of that I have seen was "What is the sharpest Knife out there?" or "This knife is the sharpest!". What is sharpness? sharpness, in my opinion, is basically "How well that edge can cut in to the object". In other words, "how thin the cutting edge is". you may have read between the line of these description that the sharpness has nothing to do with the capability of the blade. Well... to be accurate, the quality of the the blade does have tiny part of affecting it but not as much as other factors. Before continuing farther, please look at very short video clips below.
Sample 1
Sample 2
Sample 3
As you can see from these videos, all three blades can cut paper equally well to others. there are no visible differences of cutting ability between them.
Here are the sharpening method and specs of blades used in videos.
All the blades are sharpened with same equipment and method. The only difference is the cutting edge angle: step 1 Fallkniven DC4 sharpener Diamond sharpening then ceramic sharpening step 2 compound loaded strop.
Knives: sample 1 YP Puukko sample 2 Billnäs axe sample 3 Blade made from Tuna can
Any surprise in here? Yes, the Tuna can blade can cut as good as the professionally made knife blade.
How is this possible? It is possible because the quality of the blade has nothing to do with the sharpness of the blade. It's all in "How it has been sharpen", how thin the cutting edge is.
Let's go back a bit and look at that statement, "the quality of the the blade does have tiny part of affecting....". The "Tiny part" which affects the sharpness of blade is the hardness. Not a necessity, but certainly does have affect on "achieving" the good sharpness.
In theory, as long as one can make the edge very thin, then that edge is a sharp edge. But in practice, achieving that level of thinness is very difficult or in some case, near impossible. But talking within the knife, made from some kind of metal or alloy, that factor is ignore-able or compensate-able by humanly possible skill of sharpening.
How do you measure it? Well, to be honest, I am not sure how to measure the sharpness. Theoretically, it is "thinner the sharper" so to measure/compare the sharpness, we probably need to look the edge under microscope to measure the thickness of the very edge. But that is not convenient method and not available for most of us, so for the moment, I guess we need to stick to "Scary sharp!! it cuts a paper!!!" :)
However, there are many ways to test it and here are some of my favorites.
- Observation test: Simply look at the edge through the reflection of light. This will reveal most of in-perfection of edge/sharpening. When the edge is good, you should not be able to see the ridge line shining!
- Paper cutting test: The most popular test which does not tell to compere one is better than others. But this test can tell generic sharpness by feel of blade cutting through, sound and condition of cut edge of paper. I use this method to check if any in-perfection edge left. if some part is not sharpened enough to cut, smooth cutting will stop on that spot of blade.
- Shaving wood test: This could actually tell how good the blade/edge is as quality of blade point of view, but I mostly use it to find the in-perfection of edge/sharpening. Shave the end grain of wood, if it is sharp enough for me, then the surface of end-grain reflects light. Also if there is any in-perfection on the edge, this will tell exactly where, by leaving not shining surface. What is it good for? At first, we are talking about a knife and a knife need to be sharp to do the job intended. If not, then that is not a knife any more. so, it is good to have it sharp.
Secondly, sharp edge will help you do the job faster and possibly safer too!
But we need to keep the usability in our mind as well. Thinner the sharper but thinner means less durable. I will talk about this topic some other time, because it involves edge geometry and other factors. Why do we care?
or I should probably say "Why do I care" the sharpness?.
I care because there is bit of "My ego is bigger than yours" effect. It just is nice to hear from some one "man,,, your knife is sharp!" :)
OK, OK, talking serious. I think it tells the part of manufacturing quality. Let's say when you got two brand new out of box knives, and one is sharp and other is brunt. Which do you think is better made/quality? I think it tells the manufacturer's dedication and care in some level. In some case even the capability/skill of the maker. So, it is in some way important to check how sharp it is.
On the end, What should we do with sharpness?? Well, the sharpness of the blade is totally up to you! How shitty the condition or made the knife is, sharpening it will make that knife "Crazy sharp". Even you have got super sharp knife out of the box, it will looses the sharpness soon or later. When that time comes, you need to sharpen it to get it usable again. So, don't get bothered with sharpness of a knife that much!
Last night was one of those very rear occasion to be able to see northern light where I live. it was about 22:00, I went out to plug car block heater, then I have noticed some peculiar thin cloud looking thing on the sky.
As time passes, it start to sift its size, shape, color and brightness. I realized I was looking at northern light (Revontuli in Finnish).
Managed to take few pictures with my compact camera, so here you go! Hope you enjoy it!
At first, it was very vague, looked like thin cloud reflecting city light. North-East sky
Then it started to change. North-East sky
East sky
On its peak. at this time it was all over above me. North sky
Found this video while reorganizing files on my phone. It is just log split video without comments but I found it somehow relaxing, so uploading it.
Situation: in the late autumn, rain is falling time to time. Good sized birch was fell and hacked for fire wood. So me and my father-in-law picked up axes on hand, splitting logs in half for drying.
the axe I was using is a Kellokoski N:o12.3, 1.5kg head. It worked wonderfully even against large knotted log.
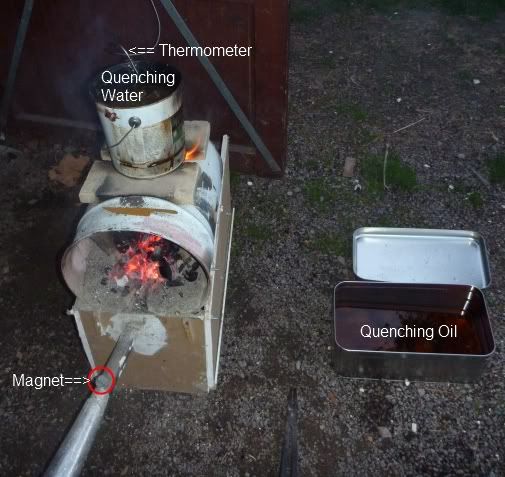
I have been using a forge which I have contracted about 2 years ago. It was working OK till new, but it start to have some issues, so decided to make new one.
The old one was made from large paint can filled with cray. the issues on this one was that it consumes too much char coal and the cray is start to giving up. Also the air hole was easily get blocked with melted cray and was very difficult to clean.
this is the old set up.
So to solve those issues, I decided to use proper fire bricks and cement. Went to shop and got 2 different sizes of bricks. in total 8 of them. then took some parts from old forge and constructed the new one.
this picture was taken before every thing is cemented.
Last week end, I have got time for forging, I fired up this new forge and made 4 blade blanks. The forge worked very well. it consumes less charcoal, retains heat well, mobile, blower is in the right place... and so on... the only problem I have now for this new one is storage... now it need larger spot in my garage to stare this.
From top left clock-wise: Whittling puukko / leather cutter / Makiri neker / Makiri Style Knife.
on the end of the work., my hands and arms so tired. I only managed to forge the bevel out on Makiri style knife. tang on that one is just tapered enough and I could not lift the hammer any more... I guess I am little out of shape:)
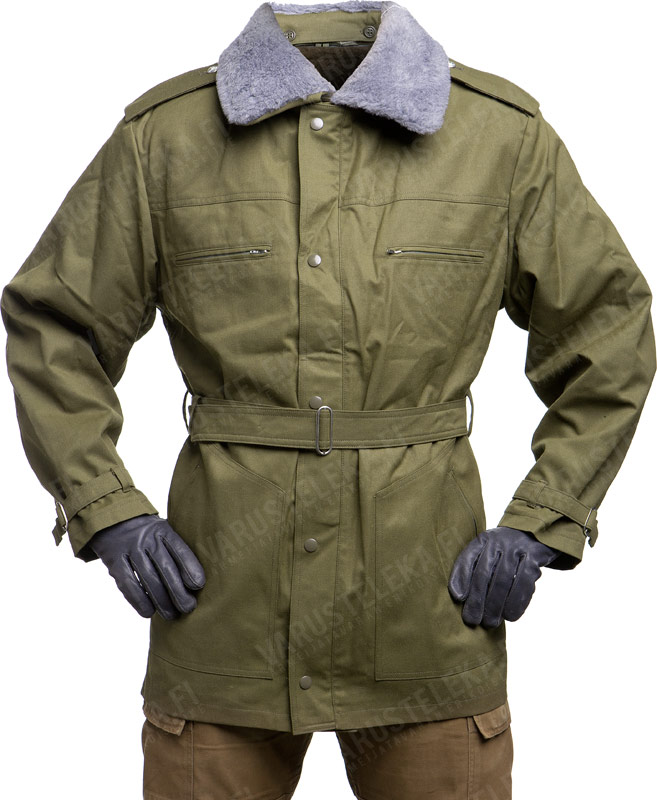
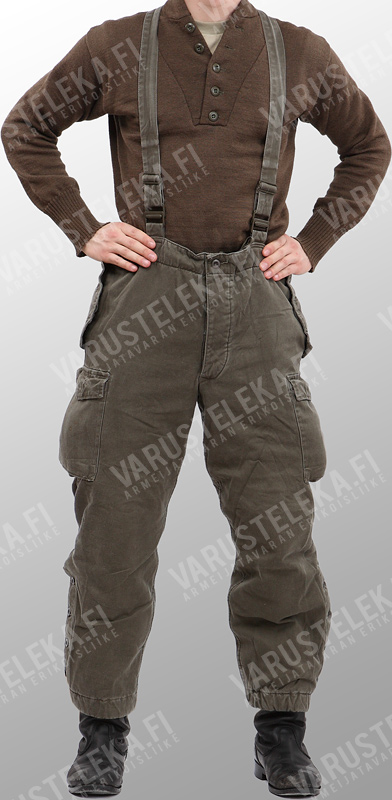
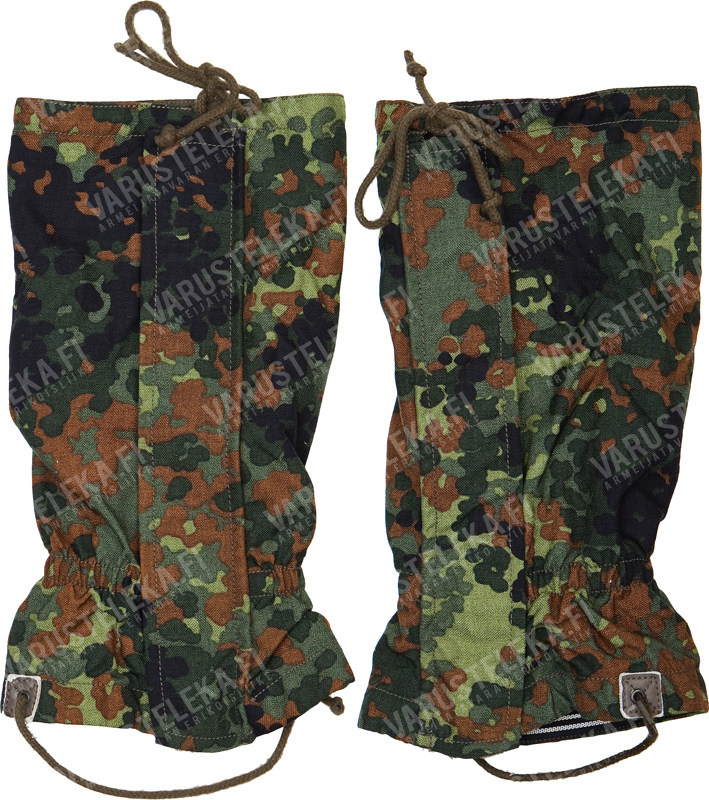
This time, I am talking about cold weather clothing. According to my experience, with different combinations of this set, I could be comfortable in the temperature between 0 to -25 degrees centigrade.
Little bit of additional information about the wool sweater. the one I like using is a Norwegian sweater, which uses thick yarn and rough weaving. this thick yarn and rough weaving will trap the warm air when used as a middle layer. Also because it is not tight, it releases the air when outer layer of clothing is removed, so this combination of layering makes easier to control the heat trapped in the clothing.
I have listed The items mentioned in the video for your reference.





.JPG)
.JPG)